1.
1.1.
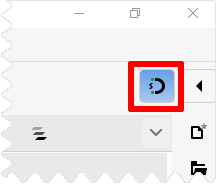
Ensure that «Snapping» is enabled (the magnet icon in the top right corner).
1.2.
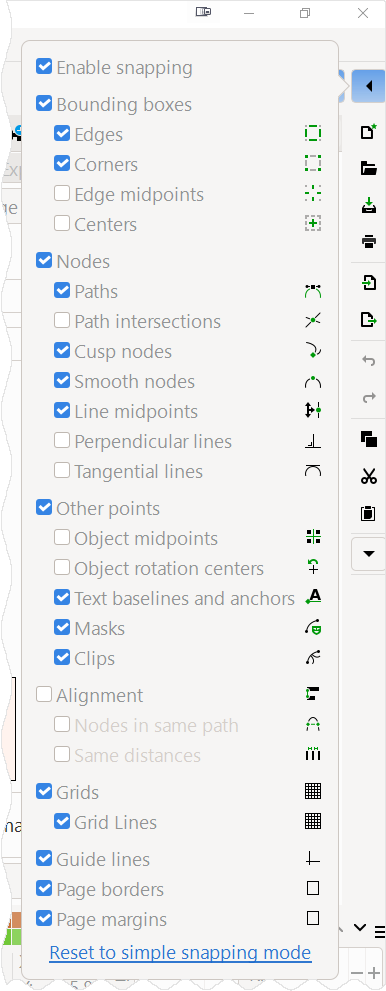
In the snapping settings (the dropdown menu next to the magnet), activate the following modes:
- «Snap to page borders».
- «Snap to bounding boxes» → «Snap to bounding box corners».
2.
2.1.
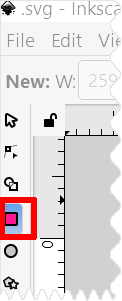
Select the «Rectangle» tool.
2.2.
Hover the cursor over the bottom-right corner of the page itself (the white canvas).
Wait for the snap indicator to the page corner to appear.
2.3.
Press and hold the left mouse button and drag the cursor to the top-right corner of the red stripe.
2.4.
When the snap indicator to the bounding box corner appears, release the button.
You have created a temporary object.
Name it «Main Area» in the «Layers and Objects» panel.
2.5.
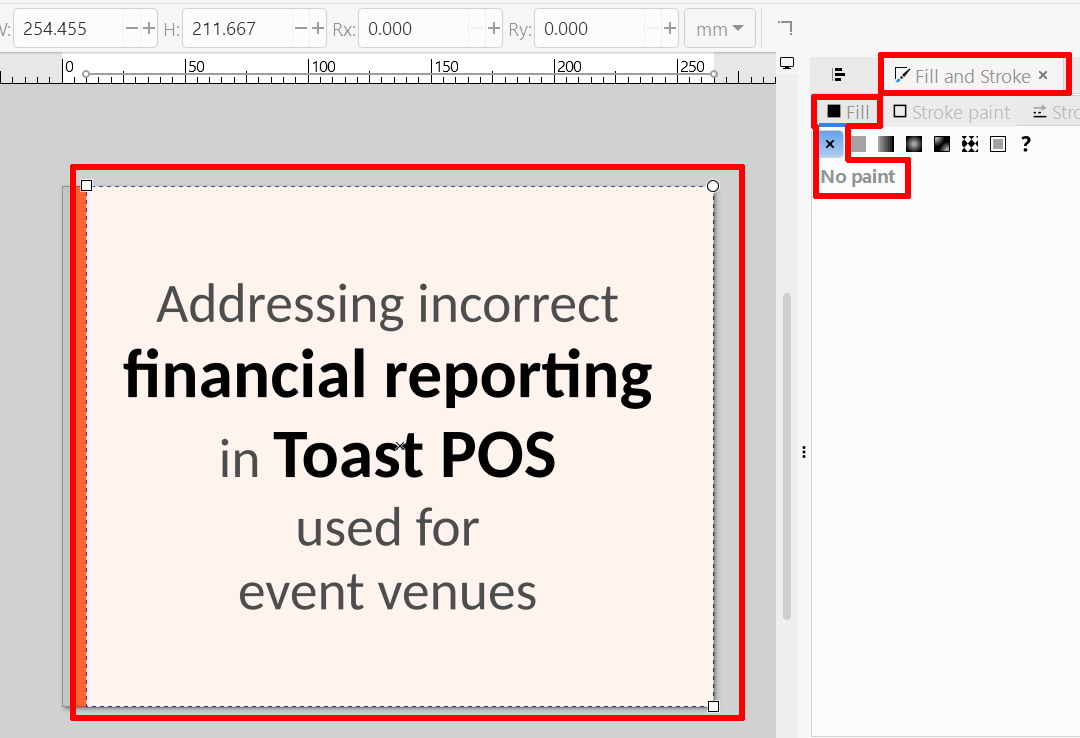
Click on the «Fill» indicator (the colored square) in the status bar.
2.6.
In the «Fill» tab, click the «No paint» icon (the «×»).
3.
Now we use «Main Area» as a reference for centering the text.
3.1.
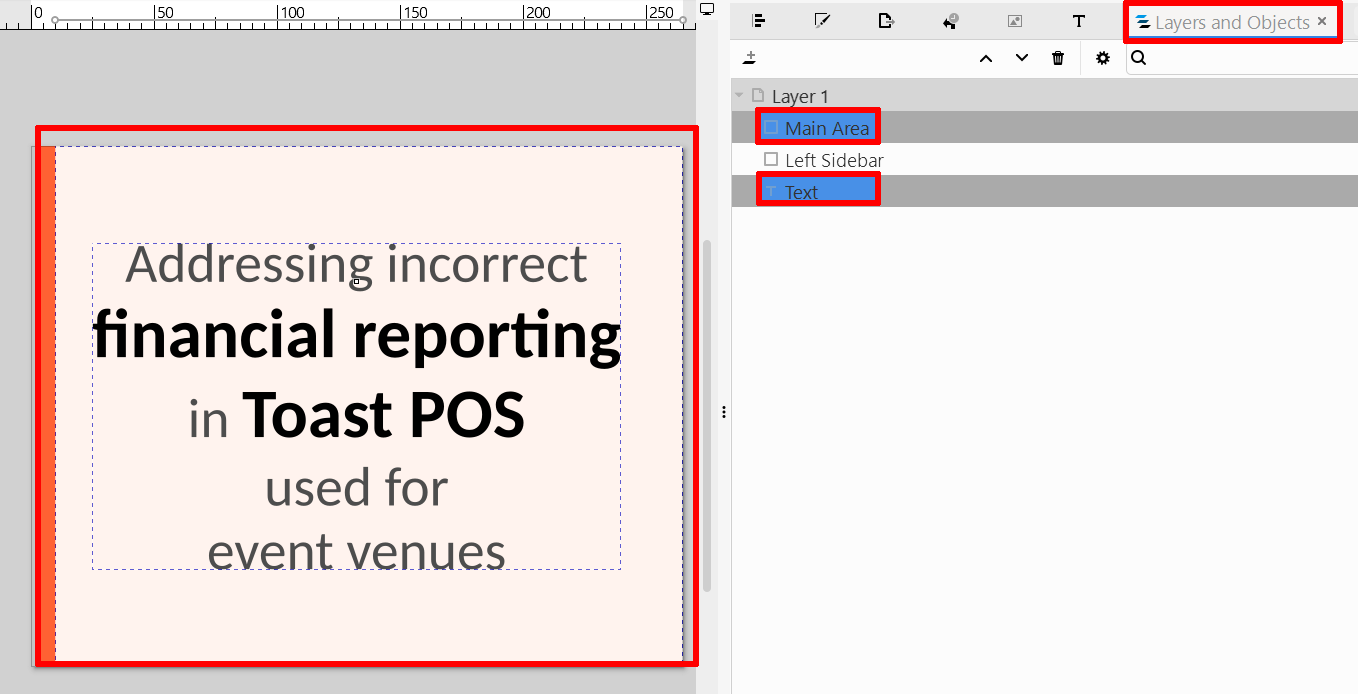
Open the «Layers and Objects» panel («Layer» → «Layers and Objects»).
3.2.
In the «Layers and Objects» panel, click on the object containing text («Text» on my screenshot) to select it.
3.3.
Hold down the Ctrl key and click on the object «Main Area» in the list.
Important: Now both objects are selected, with «Main Area» selected last.
3.4.
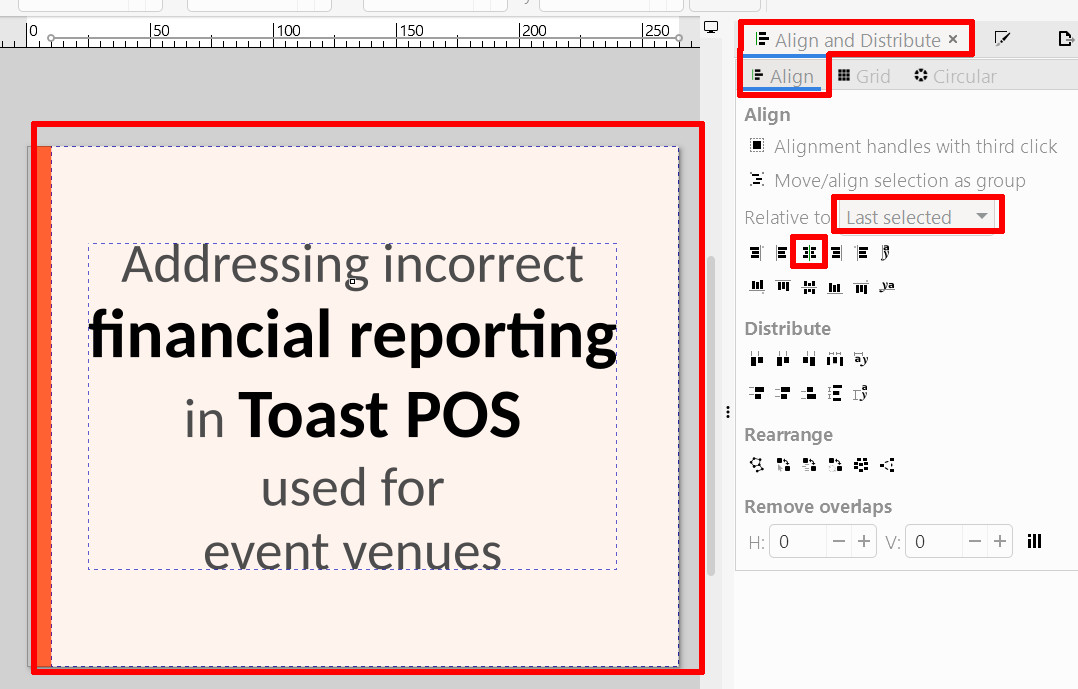
Open the «Align and Distribute» panel (Shift + Ctrl + A).
3.5.
In the «Relative to» dropdown list, select «Last Selected».
3.6.
Click the «Center on vertical axis» button.
- Icon: A vertical line passing through the centers of objects.
- Action: The object «Text» will shift horizontally and align exactly to the center of «Main Area».
4.
4.1.
Click in an empty space to deselect.
4.2.
Select the auxiliary object «Main Area» in the «Layers and Objects» panel.
4.3.
Press «Delete».