Step 1
I have installed the TigerVNC client to Windows: tightvnc.com/download/2.8.11/tightvnc-2.8.11-gpl-setup-64bit.msi
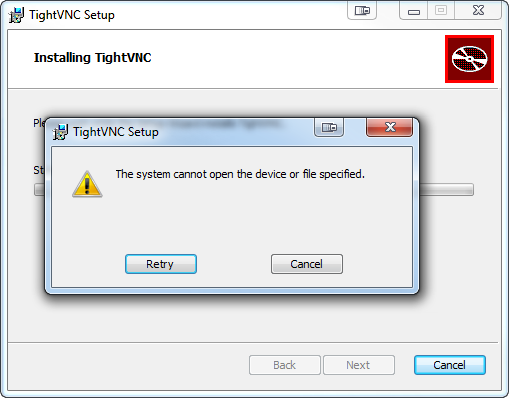
I was unable to successfully run the MSI installer directly because of the «The system cannot open device or file specified» error:

I have solved the problem using my solution for amother MSI program: How to fix «The system cannot open the device or file specified» on running the Node.js MSI installer in Windows?
Step 2
I have installed the TigerVNC server to Ubuntu:
apt install tigervnc-standalone-server tigervnc-xorg-extension tigervnc-viewer
Step 3
I have set up a password for the TigerVNC server:
vncpasswd
Step 4
I have created the ~/.vnc/xstartup file with the following contents:
#!/bin/sh
# Start Gnome 3 Desktop
[ -x /etc/vnc/xstartup ] && exec /etc/vnc/xstartup
[ -r $HOME/.Xresources ] && xrdb $HOME/.Xresources
vncconfig -iconic &
dbus-launch --exit-with-session gnome-session &
Step 5
I have started the TigerVNC server:
vncserver -depth 32 -geometry 1880x950
Step 6
I have opened an SSH tunnel from Windows to Ubuntu by running the following command in Windows (using Cygwin):
ssh root@95.217.38.16 -L 5901:127.0.0.1:5901
Step 7
I have opened the TigerVNC client in Windows, typed 127.0.0.1:5901 as the connection endpoint, entered the TigerVNC server password (specified on the Step 3), and successfully conneted to Ubuntu desktop.
Step 8
After the usage, I have stopped the TigerVNC server:
vncserver -kill :1
cyberciti.biz/faq/install-and-configure-tigervnc-server-on-ubuntu-18-04